Download Spark 2.3 on Mac

Installing Apache Spark ii.3.0 on macOS High Sierra
A pache Spark ii.3.0 has been released on 28 February 2018. This tutorial guides you through its essential installation steps on macOS High Sierra.
Step 1: List of Downloads
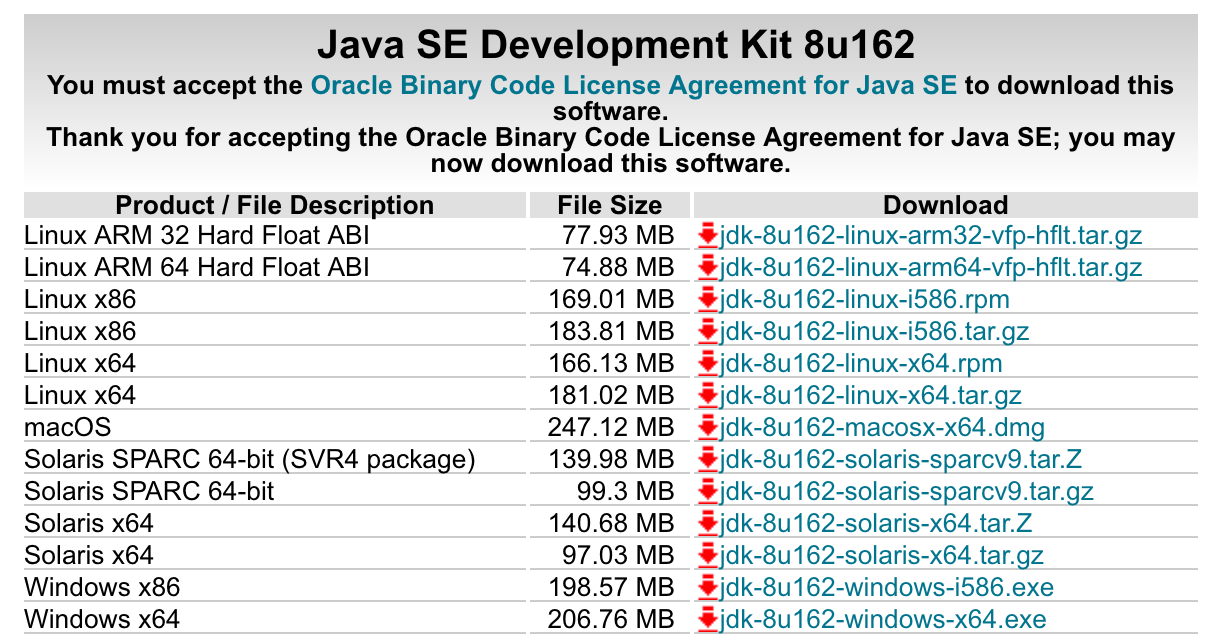
Every bit clearly mentioned in Spark's documentation, in guild to run Apache Spark 2.3.0 yous demand "Coffee 8+, Python 2.7+/three.iv+ and R 3.1+. For the Scala API, Spark 2.3.0 uses Scala two.11". The download links below are for JDK 8u162, Scala 2.11.12, Sbt 0.thirteen.17, and Python 3.six.4.
- spark-ii.iii.0-bin-hadoop2.vii.tgz (u.s.a. link, european union link)
- jdk-8u162-macosx-x64.dmg
- scala-2.11.12.tgz
- sbt-0.xiii.17.tgz
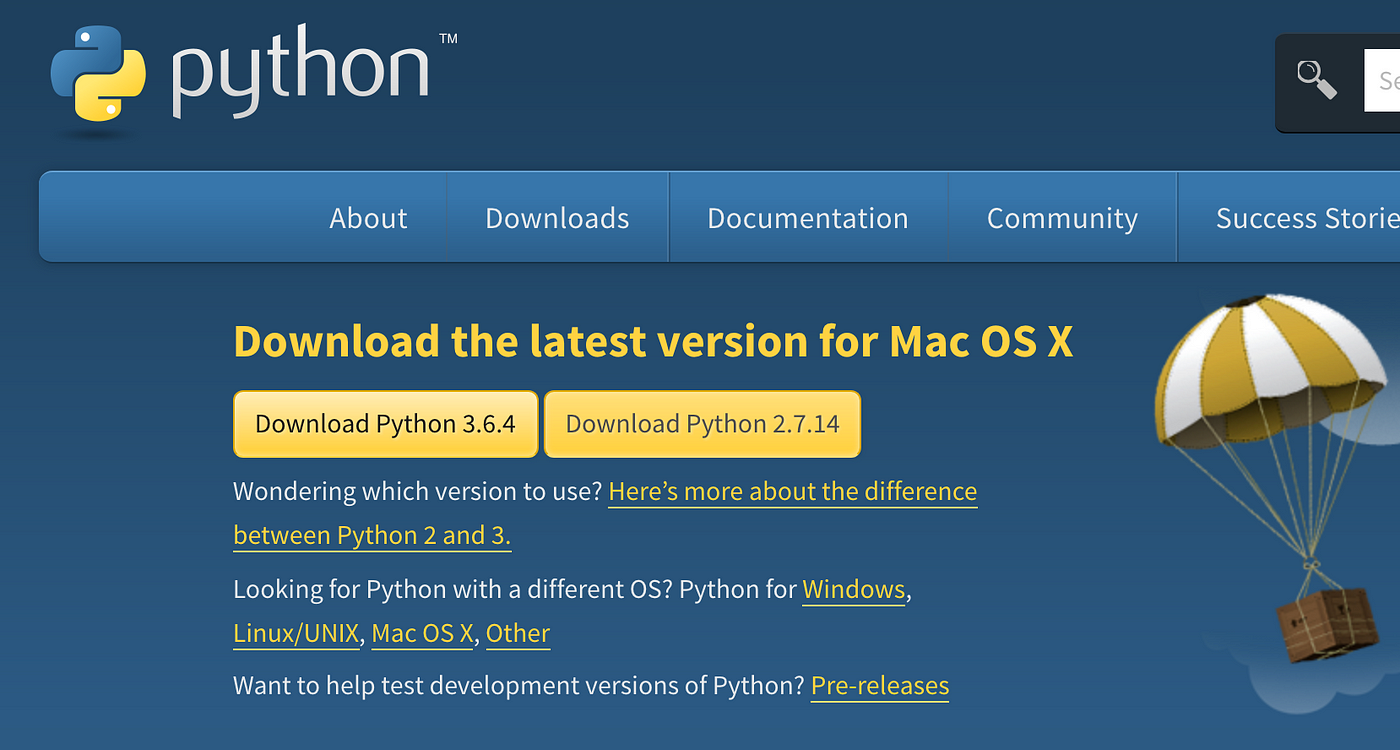
- python-3.half dozen.four-macosx10.6.pkg. Although optional (every bit macOS has congenital-in Python), it is recommended to install your own Python.
Step ii: Installation Preparations
2.1 The HOME binder of this tutorial
- Domicile folder of this tutorial is
/Users/luckspark. This home directory tin can also be referred to as$HOMEor~. Therefore,/Users/luckspark/serverand$HOME/serverand~/serverare the same. - Your HOME folder is probably dissimilar. Therefore, it is import that you replace all
/Users/luckspark/serverto match your HOME directory on your automobile. - For example, you might want to replace all
/Users/luckspark/serverto/Users/tim/server.
2.ii The installation binder of this tutorial
In this tutorial, Sbt, Scala, and Spark, will be installed at /Users/luckspark/server (i.e., $Dwelling/server or ~/server). You lot can create the server directory under your Habitation using the following commands
                cd
mkdir server - Annotation for beginners, the command
cdchanges the directory (from wherever information technology is) to HOME directory. The commands higher up, thus, modify the directory back to Dwelling house, then create a new directory named "server".
two.three Copy all downloaded files to $HOME/server folder
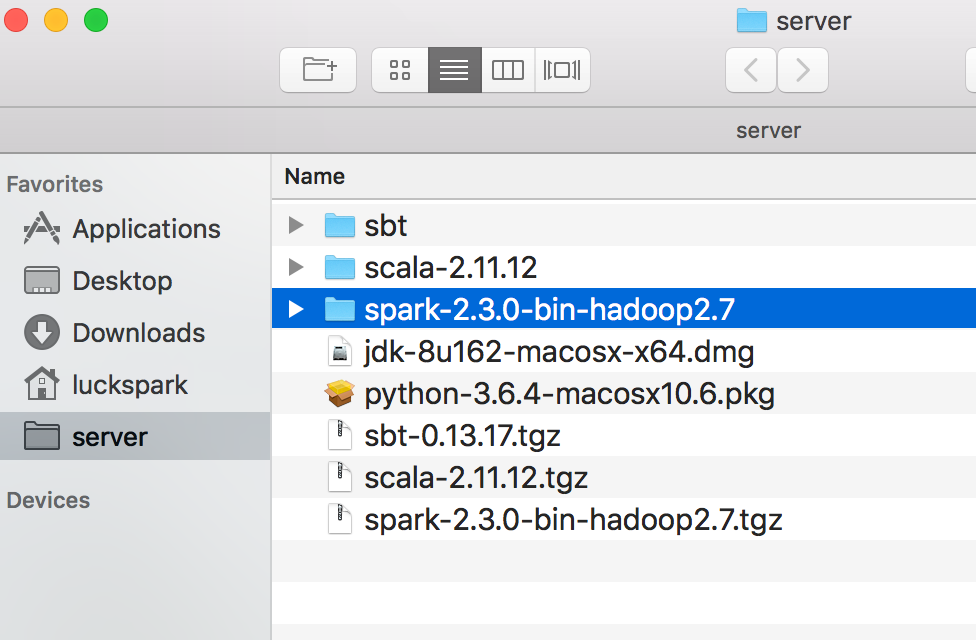
- For simplicity, re-create all downloaded files from pace 1 to the
$HOME/serverfolder. Yourserverfolder shall look like this.

Pace 3: Extract the downloaded files
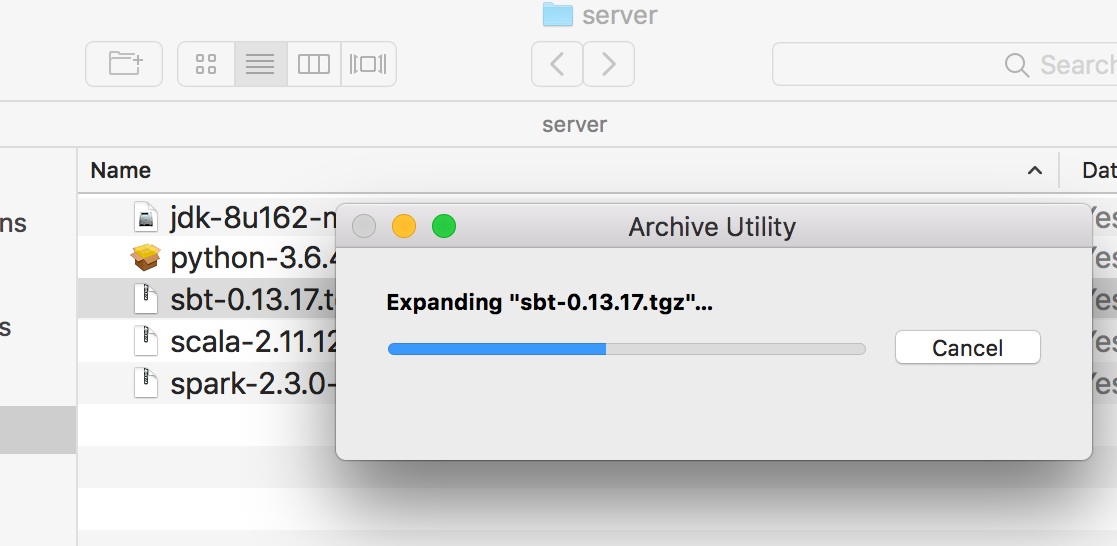
- Extract the .tgz files (sbt*.tgz, spark*.tgz, and scala*.tgz) by double click each file, which will launch the Archive Utility programme and extract the files automatically.
- There will be 3 new folders, each of which corresponds to each .tgz files, as shown below.
Step 4: Install JDK
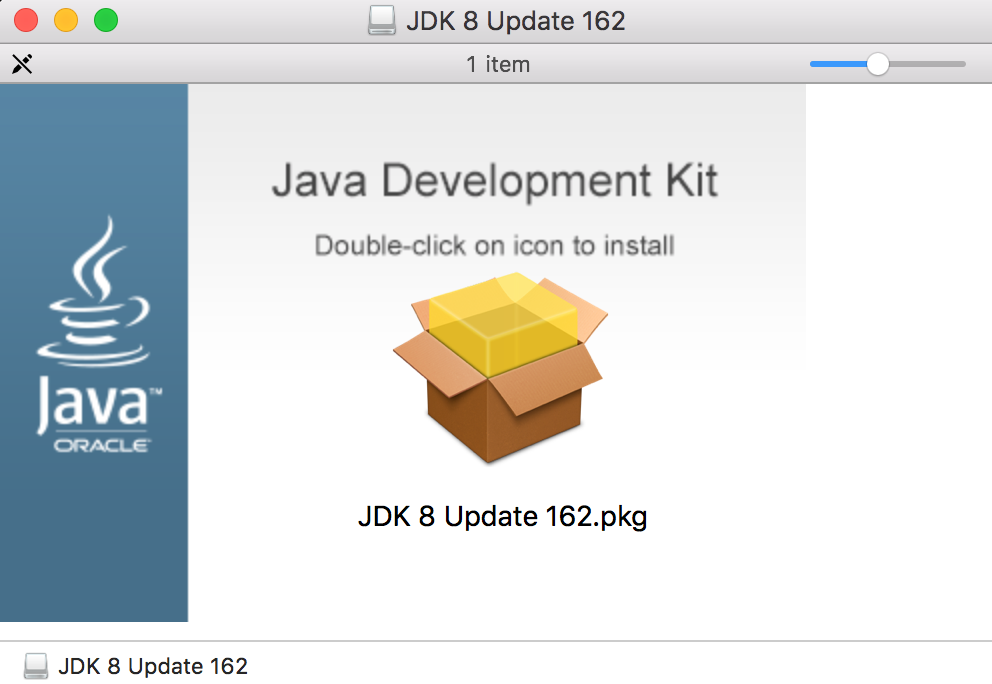
- Double click the
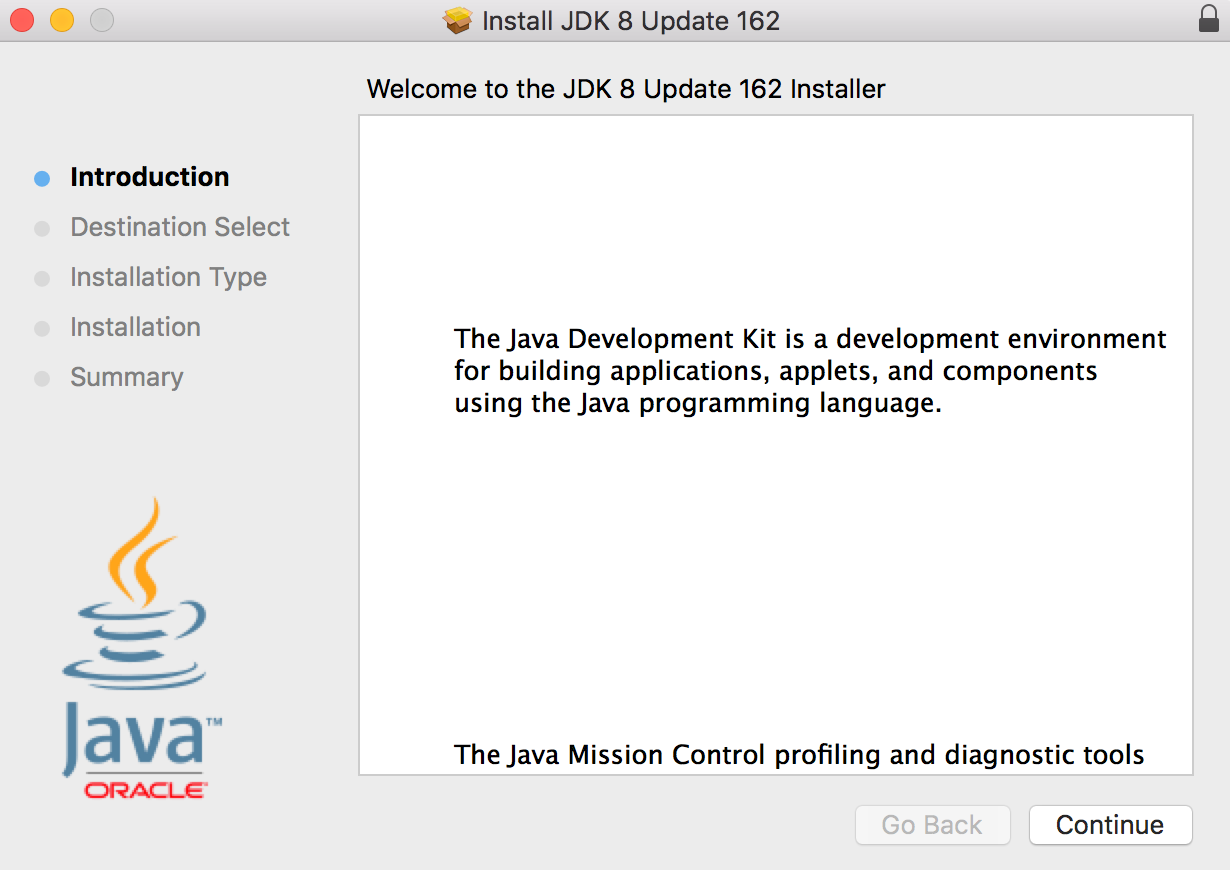
jdk-8u162-macosx-x64.dmgto launch JDK installation process. - Double click the
JDK 8 Update 162.pkgicon to install. The installation wizard screen will popular upward.
Stride five: Install Python 3
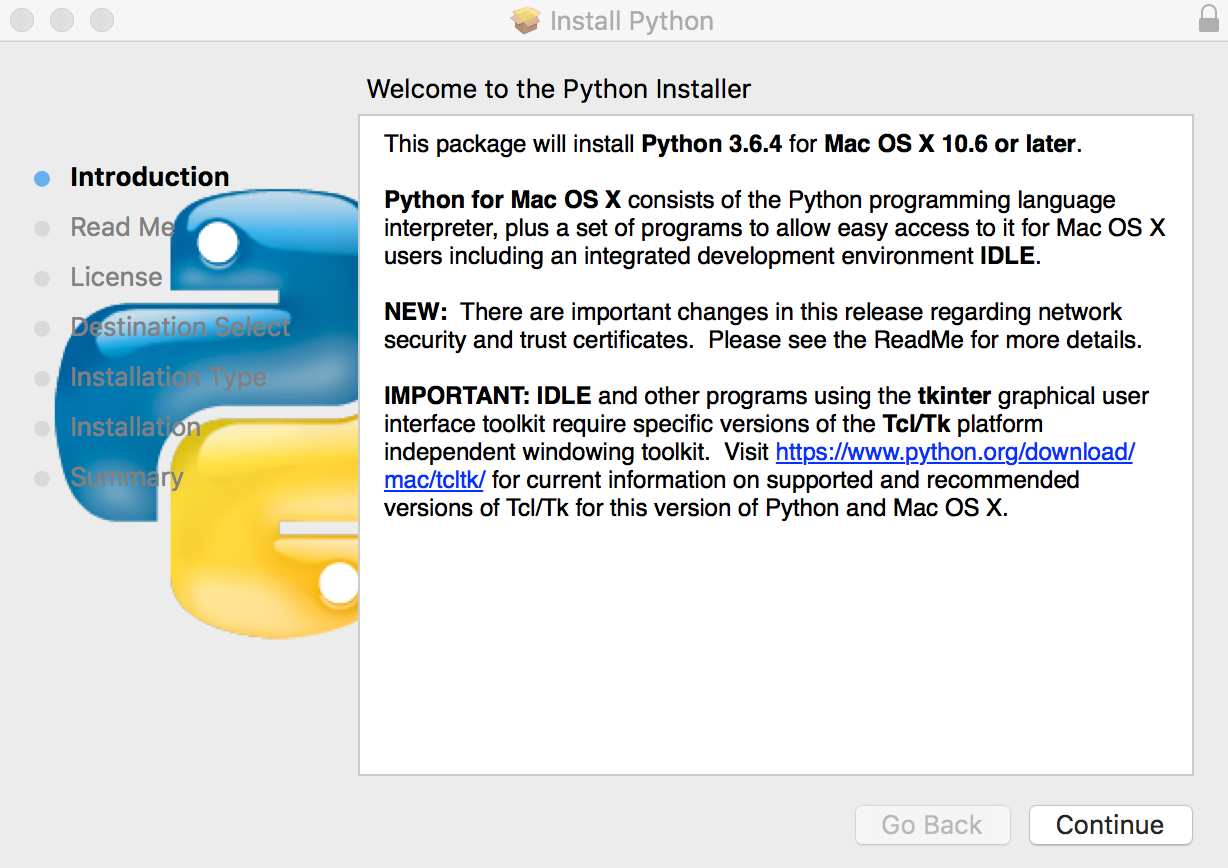
- Double click the
python-three.six.4-macosx10.6.pkgfile to outset Python three installation. Follow the sorcerer screens with default options.
Footstep six: Setup shell surround by editing the ~/.bash_profile file
6.ane Summary of directory paths
Here are the directory paths of the programs that we accept installed and then far:
- JDK:
/Library/Coffee/JavaVirtualMachines/jdk1.viii.0_162.jdk - Python:
/Library/Frameworks/Python.framework/Versions/3.vi - Sbt:
/Users/luckspark/server/sbt - Scala:
/Users/luckspark/server/scala-ii.11.12 - Spark:
/Users/luckspark/server/spark-2.3.0-bin-hadoop2.vii
These paths will exist used in step 6.2. Make sure to supercede the /Users/luckspark/server with your Dwelling path. You lot do non need to alter the paths of JDK and Python.
6.2 Setup .bash_profile file
- Note for beginners, this file is a special file in which the name is deliberately starting time with a "dot". Therefore, make sure that y'all type the file proper noun correctly, which is
.bash_profile(with a "dot" in front). - Open the
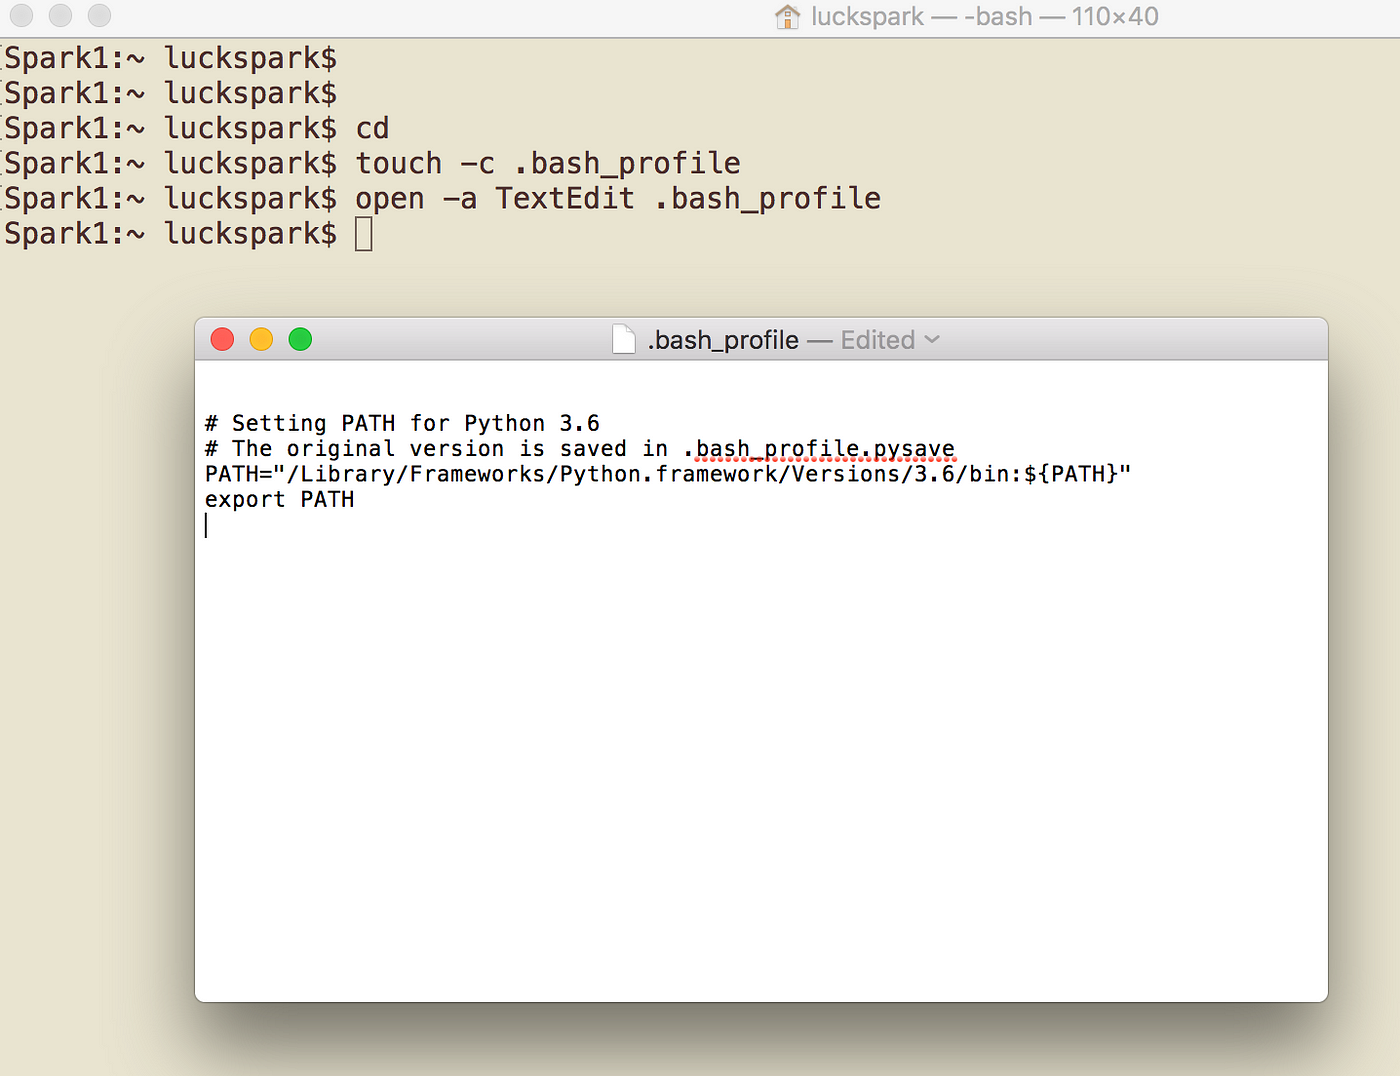
.bash_profilefile, which is located at your HOME directory (i.e.,~/.bash_profile), using any text editor (e.yard., TextEdit, nano, vi, or sublime). For example, open up the Terminal app and use these commands to open the.bash_profilewith Mac's TextEdit app.
                cd
bear upon -c .bash_profile
open -a TextEdit .bash_profile - Annotation for beginners, the commands above i) alter the directory dorsum to HOME directory, 2) If does not be, create a file named
.bash_profile, if the file does already exist, this will non overwrite the file, and 3) open the.bash_profilewith TextEdit app.
- Copy these lines to the file.
                consign JAVA_HOME=/Library/Java/JavaVirtualMachines/jdk1.8.0_162.jdk/Contents/Domicile/
consign SPARK_HOME=/Users/luckspark/server/spark-two.3.0-bin-hadoop2.vii
export SBT_HOME=/Users/luckspark/server/sbt
export SCALA_HOME=/Users/luckspark/server/scala-2.eleven.12                export PATH=$JAVA_HOME/bin:$SBT_HOME/bin:$SBT_HOME/lib:$SCALA_HOME/bin:$SCALA_HOME/lib:$PATH                export PATH=$JAVA_HOME/bin:$SPARK_HOME:$SPARK_HOME/bin:$SPARK_HOME/sbin:$PATH                export PYSPARK_PYTHON=python3
- The
.bash_profilefile shall look like this.
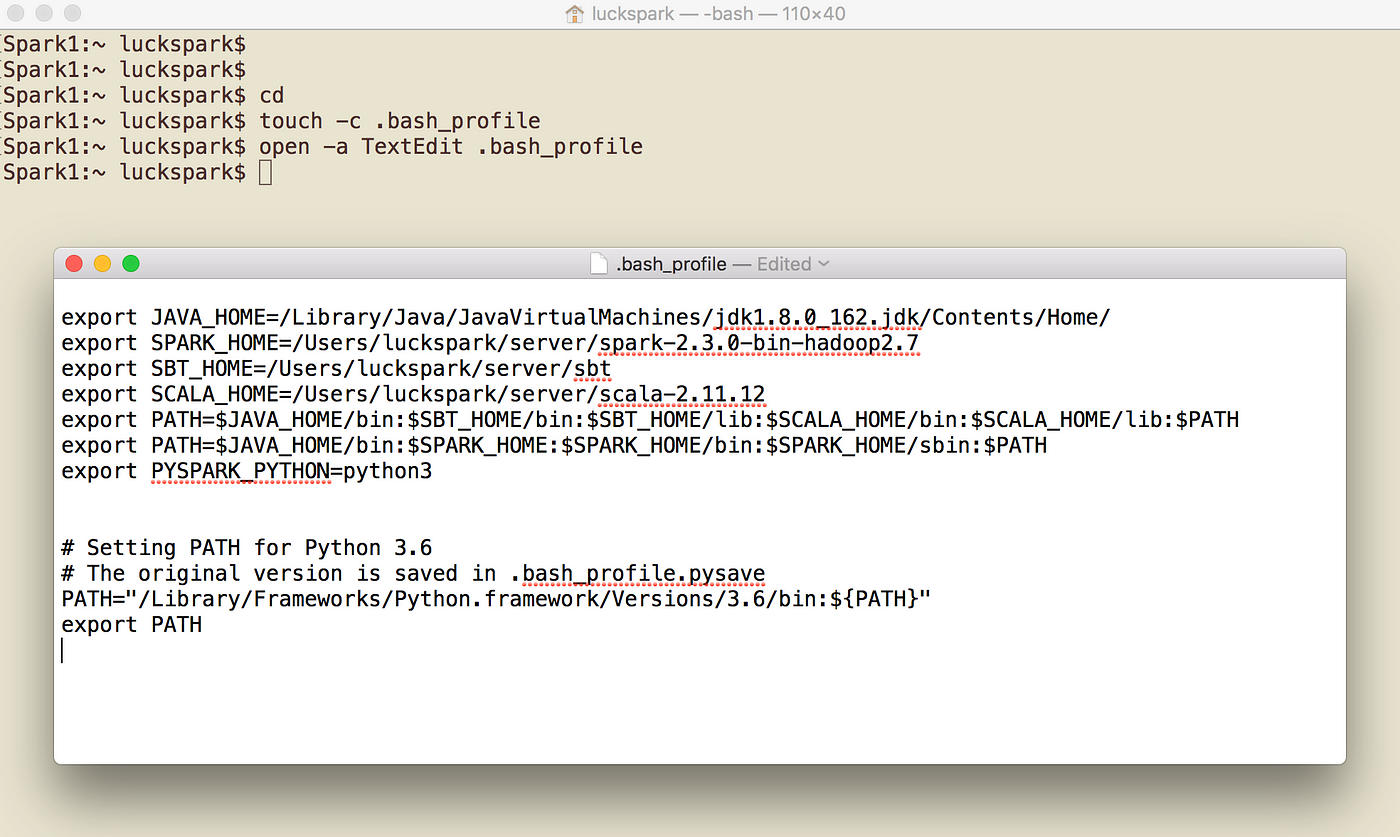
- Note that the last 4 lines are the path for Python and could have been automatically added from the Python installation procedure. If not, you can copy and paste these lines manually.
                PATH="/Library/Frameworks/Python.framework/Versions/3.half-dozen/bin:${PATH}"
export PATH - Note for beginners, the lines starting with "#" in the
.bash_profileare comment lines. - Save and close the file.
Step 7: Reload .bash_profile
Since the .bash_profile has been changed, we have to reload information technology. Options are
- Blazon
source ~/.bash_profile
OR
- Quit and reopen the Terminal programme. Make sure you completely quit the Last using
menu → Quit Last (⌘Q), otherwise the surround variables alleged above will not be loaded.
Pace 8: Test the installation
- Open the Terminal app.
viii.1 Test Java
- blazon
java -versionwhich shall return the screen beneath

viii.two Test PySpark
- PySpark is Spark'southward Python interactive trounce.
- At the Terminal, blazon
pyspark, you shall become the post-obit screen showing Spark banner with version two.3.0.
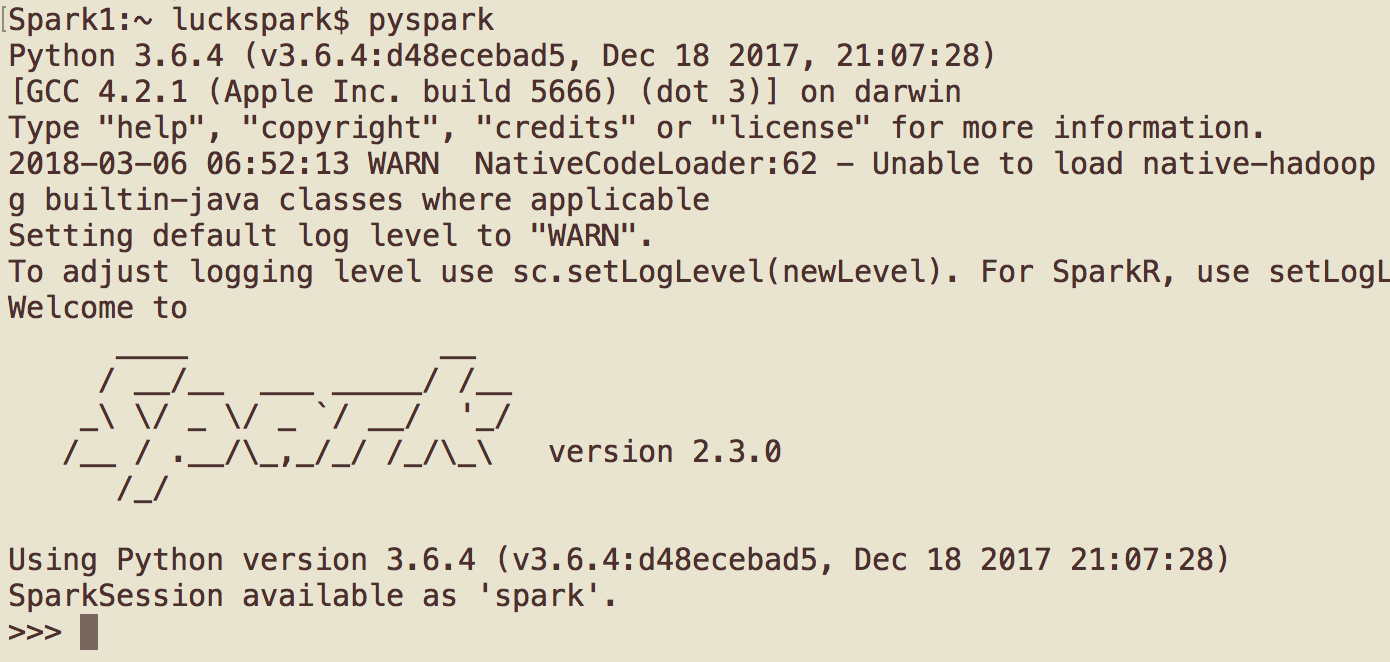
- Type
CTRL-Dorexit()to exit the pyspark shell.
8.three: Test spark-vanquish
- Spark-trounce is interactive Spark crush for Scala.
- At the Final, type
spark-shell, you lot shall go the following screen output.
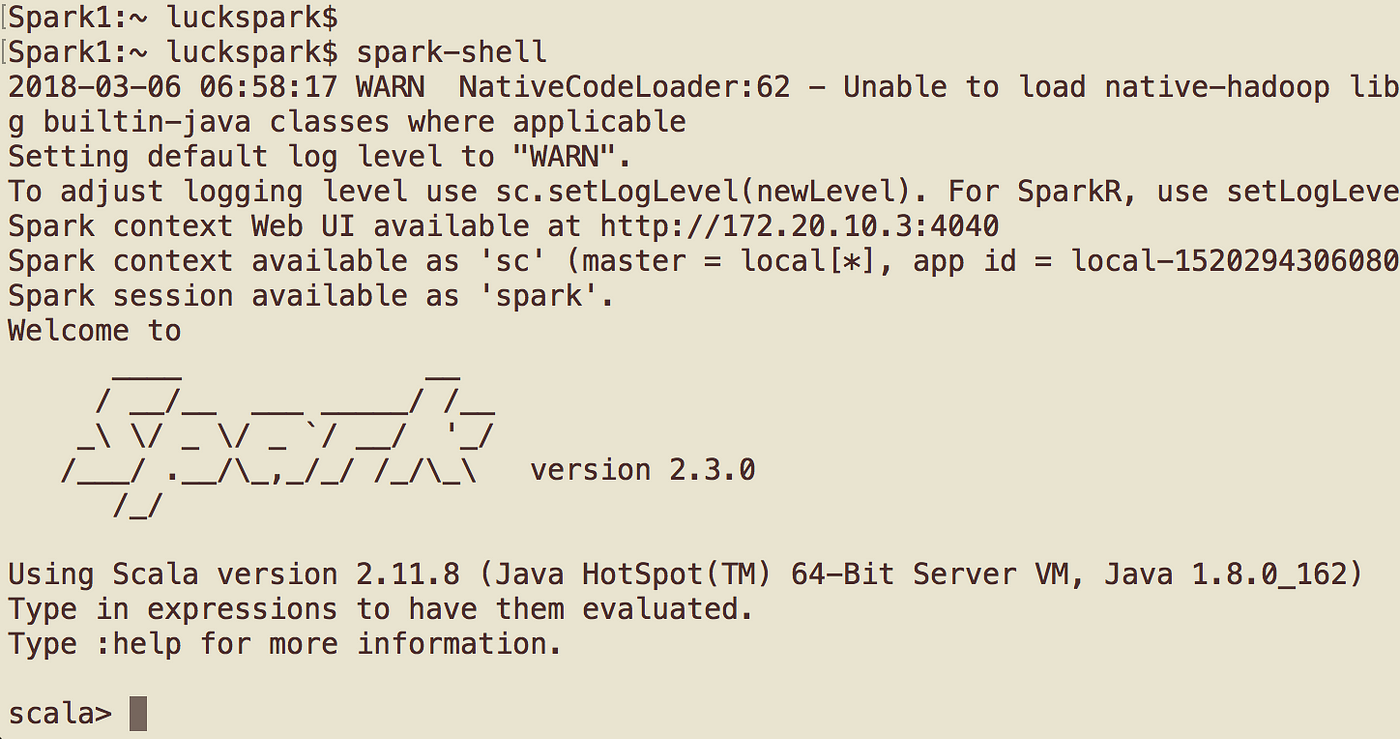
- Type
CTRL-Dto quit spark-shell.
That's it. Savor your Spark.
Download Spark 2.3 on Mac
Posted by: leakekion1943.blogspot.com


0 Comments